03. Map Setup
Map Setup
Great! We have our simulation environment ready now. However, we cannot localize the robot just yet. The poor robot has zero information on its surroundings! Let us generate a map for it so that it knows what to expect in this environment.
Generally speaking, in the development of a robotic project, engineers utilize Mapping tools to measure and map the area robot will be operating in. Since we are developing in simulation environment the problem is simplified. We could generate the map from Gazebo world directly using a ROS package: pgm_map_creator .
Note that currently, the map creator could not handle objects in the environment well. Please use the it with vertical surfaces only!
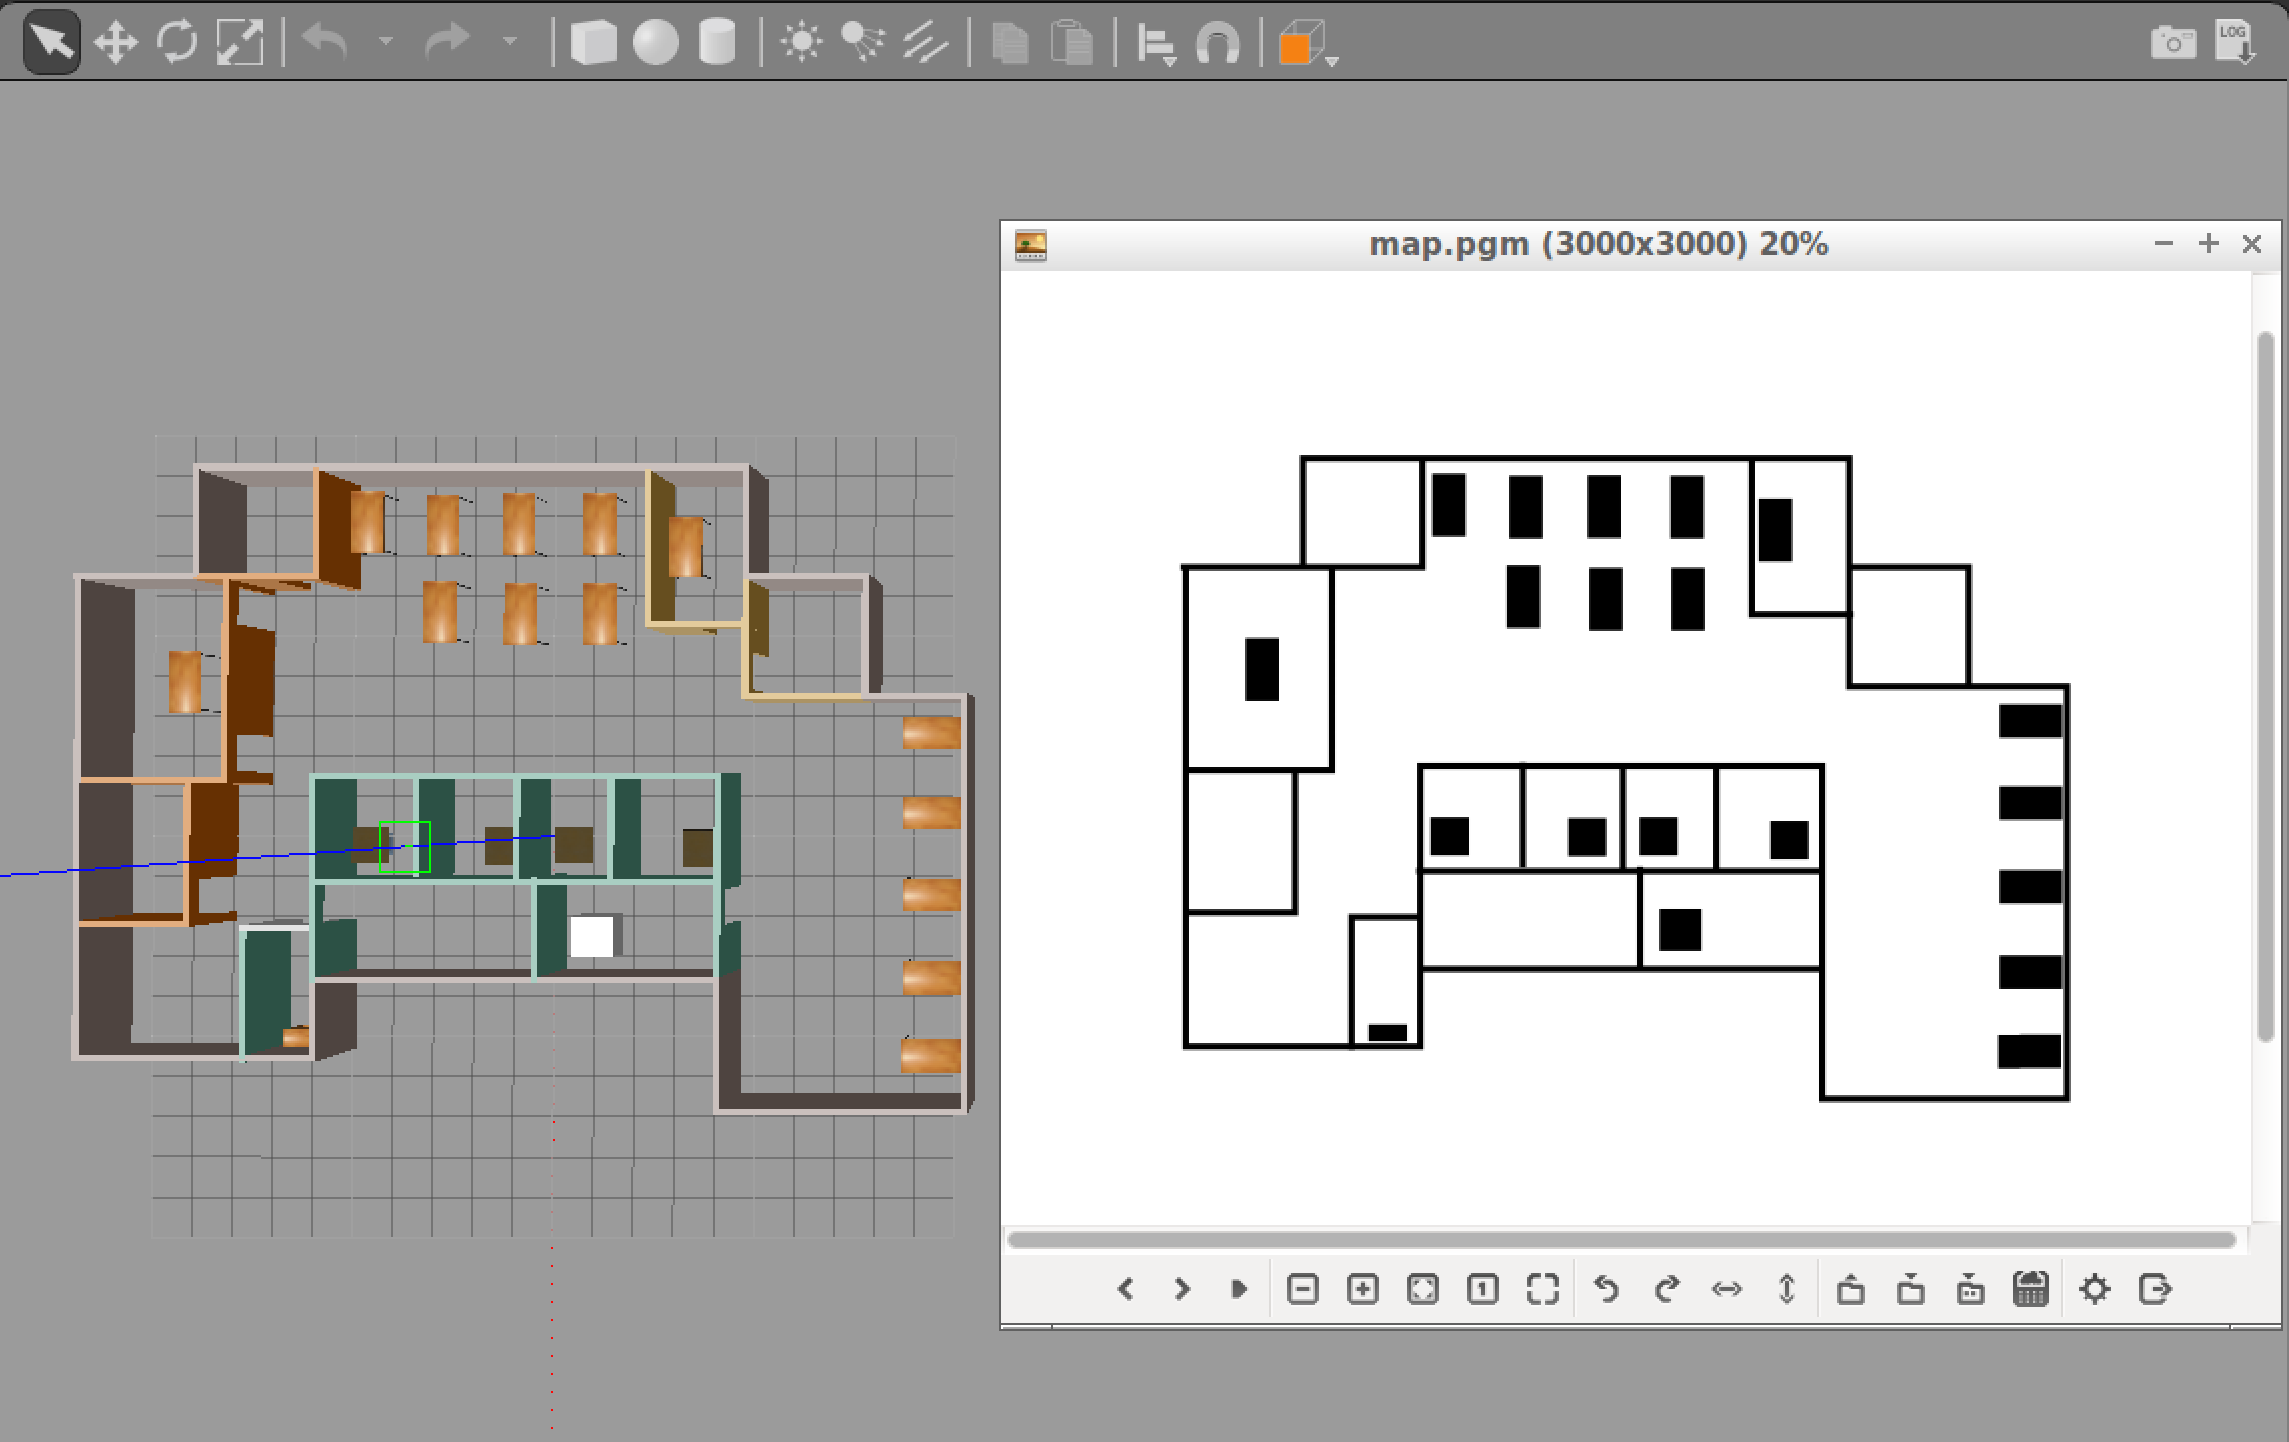
Udacity Office Space Map
PGM Map File
The map ROS AMCL Package uses is a
pgm
file. A
pgm
file is a grayscale image file. For more information about
pgm
file or more generally,
pnm
file, please refer to
Netpbm format Wiki Page
.
By default, AMCL package will treat 'darker' pixels as obstacle in the
pgm
map file, and 'lighter' pixels as free space. The threshold could be set as a parameter which we will cover when we are building the launch file.
Navigate to your ROS package folder and create a
maps
folder. That's where your map file will reside.
$ cd /home/workspace/catkin_ws/src/<YOUR PACKAGE NAME>
$ mkdir maps
PGM Map Creator
Install Dependencies
We need
libignition-math2-dev
and
protobuf-compiler
to compile the map creator:
sudo apt-get install libignition-math2-dev protobuf-compilerClone the Repository
Clone the package
pgm_map_creator
to your
src
folder.
cd /home/workspace/catkin_ws/src/
git clone https://github.com/udacity/pgm_map_creator.git
Build the package:
cd ..
catkin_make
Add and Edit the World File
Copy the Gazebo world you created to the
world
folder
cp <YOUR GAZEBO WORLD FILE> src/pgm_map_creator/world/<YOUR GAZEBO WORLD FILE>
Insert the map creator plugin to your map file. Open the map file using the editor of your choice. Add the following tag towards the end of the file, but just before
</world>
tag:
<plugin filename="libcollision_map_creator.so" name="collision_map_creator"/>Create the PGM Map!
Open a terminal, run gzerver with the map file:
gzserver src/pgm_map_creator/world/<YOUR GAZEBO WORLD FILE>Open another terminal, launch the request_publisher node
roslaunch pgm_map_creator request_publisher.launch
Wait for the plugin to generate map. It will be located in the map folder of the
pgm_map_creator
! Open it to do a quick check of the map. If the map is cropped, you might want to adjust the parameters in
launch/request_publisher.launch
, namely the
x
and
y
values, which defines the size of the map:
  <arg name="xmin" default="-15" />
  <arg name="xmax" default="15" />
  <arg name="ymin" default="-15" />
  <arg name="ymax" default="15" />
  <arg name="scan_height" default="5" />
  <arg name="resolution" default="0.01" />
Edit the Map
Remember, the map is an image, which means you could edit it using image processing softwares like
gimp
in Linux. If you have found the map not accurate due to the models, feel free to edit the
pgm
file directly!
Add the Map to Your Package
Now we have the map file, let us move it to where it is needed! That is the
maps
folder you created at the very beginning.
cd /home/workspace/catkin_ws/
cp src/pgm_map_creator/maps/<YOUR MAP NAME>  src/<YOUR PACKAGE NAME>/maps/<YOUR MAP NAME>
You would also need a
yaml
file providing the
metadata about the map
. Create a
yaml
file next to your map:
cd src/<YOUR PACKAGE NAME>/src/maps
touch <YOUR MAP NAME>.yaml
Open the
yaml
file and add the following lines to it:
image: <YOUR MAP NAME>
resolution: 0.01
origin: [-15.0, -15.0, 0.0]
occupied_thresh: 0.65
free_thresh: 0.196
negate: 0
Note that the origin of the map should correspond to your map's size. For example, the default map size is 30 by 30, so the origin will be [-15, -15, 0], i.e. half the size of the map.